Do you actually need bed stiffeners?
Honest answer: probably not, and I fitted them anyway.
The weakness is real. The 3rd-gen Tacoma bed can crack in the rear channel near the tailgate latch and taillight when weight sits on the bed rails for long periods. Total Chaos publishes a photo of exactly that crack, and Tacoma owners running heavy racks and campers have documented it independently of any camper brand.
But I went looking for the specific thing that would justify the mod, which is a Tune M1 owner reporting a cracked bed caused by their camper. Across the M1 owner community I follow, I couldn’t find one. Not a single case. And Tune says nothing about stiffeners either way: not required, not recommended, entirely owner-driven.
Two things pushed me to do it regardless. A permanent camper is a different load case from a weekend topper, and this is a job that gets much harder once the camper is bolted on. So I treated it as cheap insurance on a known weak point, bought before the one-way door closed. If you want someone to tell you it’s mandatory, I’m not going to.
Worth noticing who is telling you it’s necessary. The clearest documentation of the crack comes from the companies selling the fix. That doesn’t make it false, and the cracks are real, but it’s worth holding in mind while you decide.
Total Chaos or All-Pro? What actually decided it
These two land in the same tier for rigidity. Both bolt on, both drill, both are made in the USA. On paper All-Pro wins easily: it’s about half the price and it throws in seven tie-down anchors that Total Chaos doesn’t.
I paid roughly $97 more for the Total Chaos set anyway, for one reason: profile. Total Chaos is the flat-bottom, low-profile design. All-Pro’s thicker steel and protruding tie-down tabs intrude further into the bed.
That mattered because I’m building a custom interior with no drawers, sitting tight to the bed walls. Clearance is the thing you can’t add later. Tie-down anchors you can add anywhere, with T-track or rivnuts, whenever you want. So I paid for the constraint I couldn’t undo and gave up the feature I could replicate.
If you’re running drawers or a bed rack and not building tight to the walls, that reasoning doesn’t apply to you, and All-Pro is the better buy.
The sourcing trap that nearly cost me the install date
I ordered from a retailer showing the part in stock. Then I found out they drop-ship it from Total Chaos, and Total Chaos was closed for a company vacation. My part wouldn’t ship until two days before my camper install.
I cancelled, called a different retailer, and asked one specific question: is this in your warehouse, or does it come from the manufacturer? They confirmed physical stock on their own shelves, and it arrived in time.
During a manufacturer shutdown, a website saying “in stock” tells you nothing about whether it can ship. If you have a fixed date, phone and ask who physically holds the part. That one call is the whole lesson. I wrote more about working backward from a deadline in when to buy your gear.
Postscript: Total Chaos came back from vacation and the cancellation went through without a fight.
The tools nobody mentions
This is the part I’d most want to have read beforehand, because I bought the wrong bits and had to stop.
From Total Chaos’s own instructions for part 48676:
| Tool | What it’s for |
|---|---|
| T-40 Torx | The factory tie-down mount |
| T-55 Torx | The bed mount bolt |
| 10mm wrench or socket | Top bed bolt, plus both taillight bolts |
| 1/2" and 5/8" wrench | The supplied bracket hardware |
| 5/16" drill bit | Three holes per side |
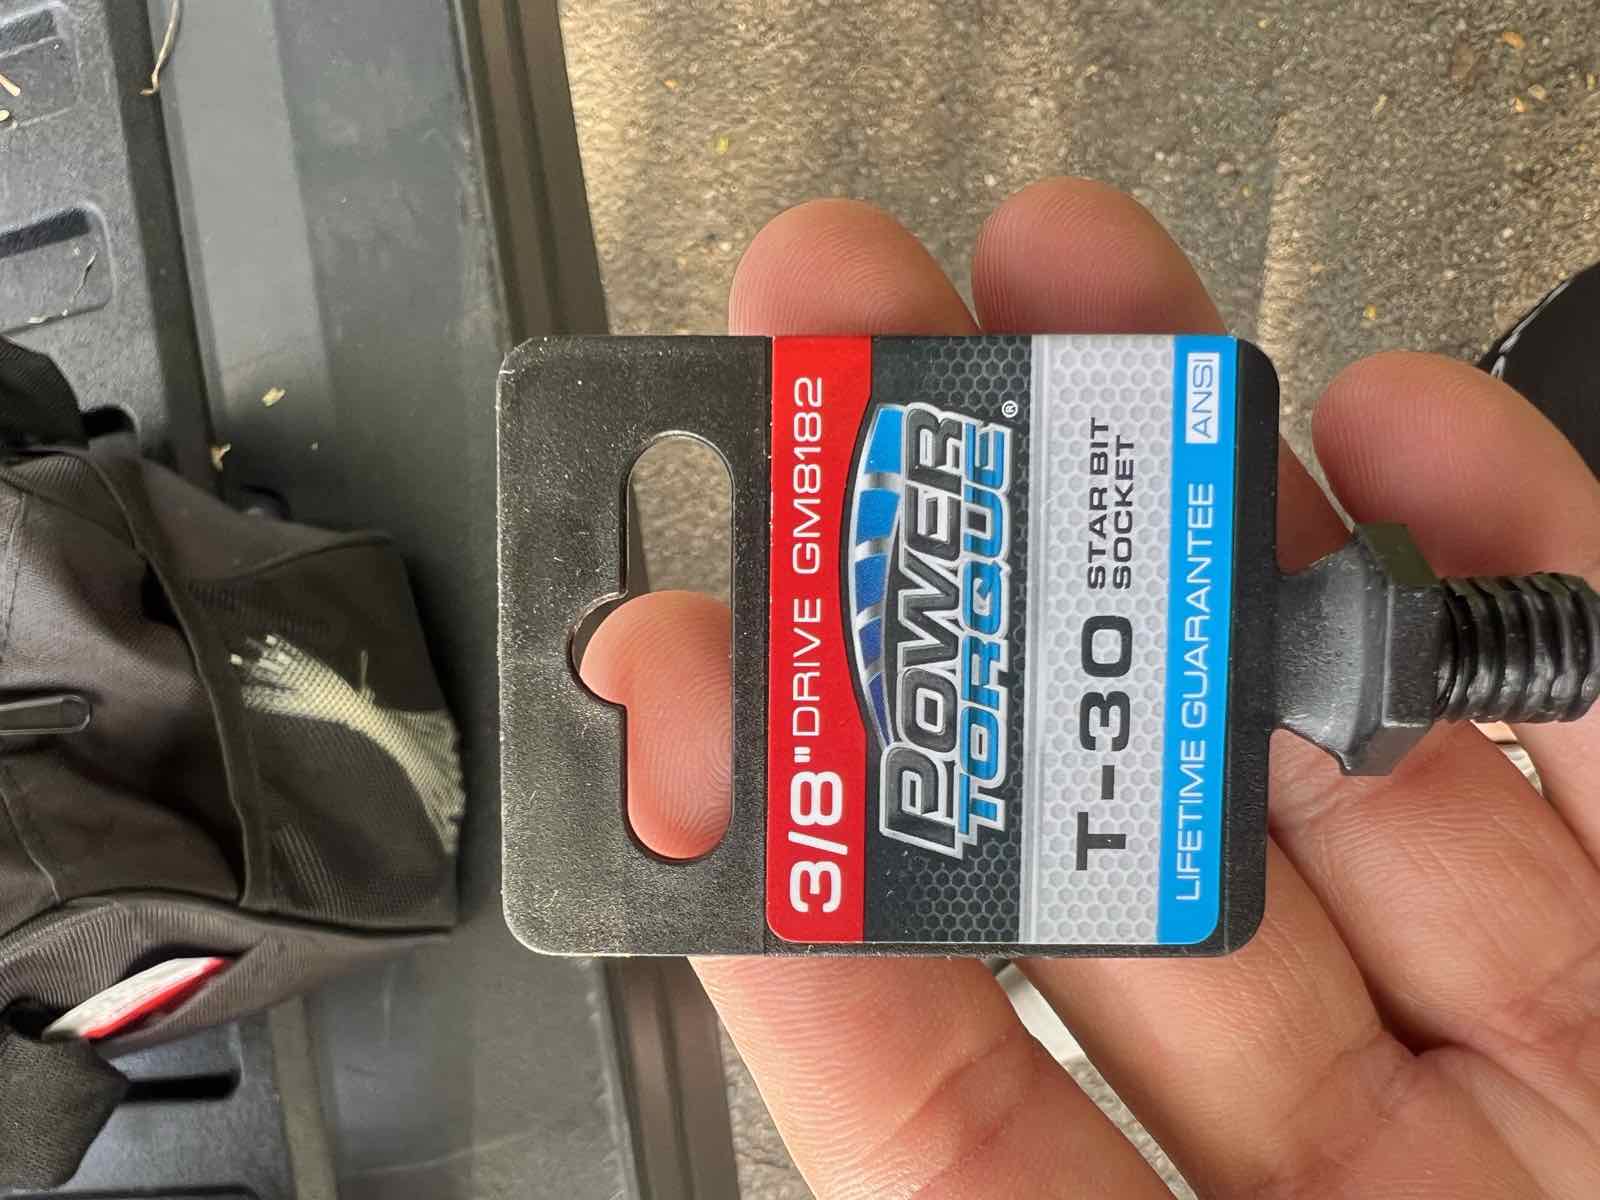
Two different Torx sizes, and neither is one most people own. I bought a T-30, which is neither, and it doesn’t appear anywhere in this job. Buy a Torx set rather than guessing at individual bits.
The drilling is the least intimidating part, which surprised me. You bolt the bracket loosely in place first, then drill through the holes in the bracket itself. It acts as its own template, so there is no measuring and nothing to line up. Three holes per side, and they end up hidden behind the taillight.
Budget about an hour a side. It’s a one-person job.
The bolt I broke, and why the manual saw it coming
I snapped the stock top bed bolt, the one above the “Attention” sticker. It’s still in there. I still need to deal with it.
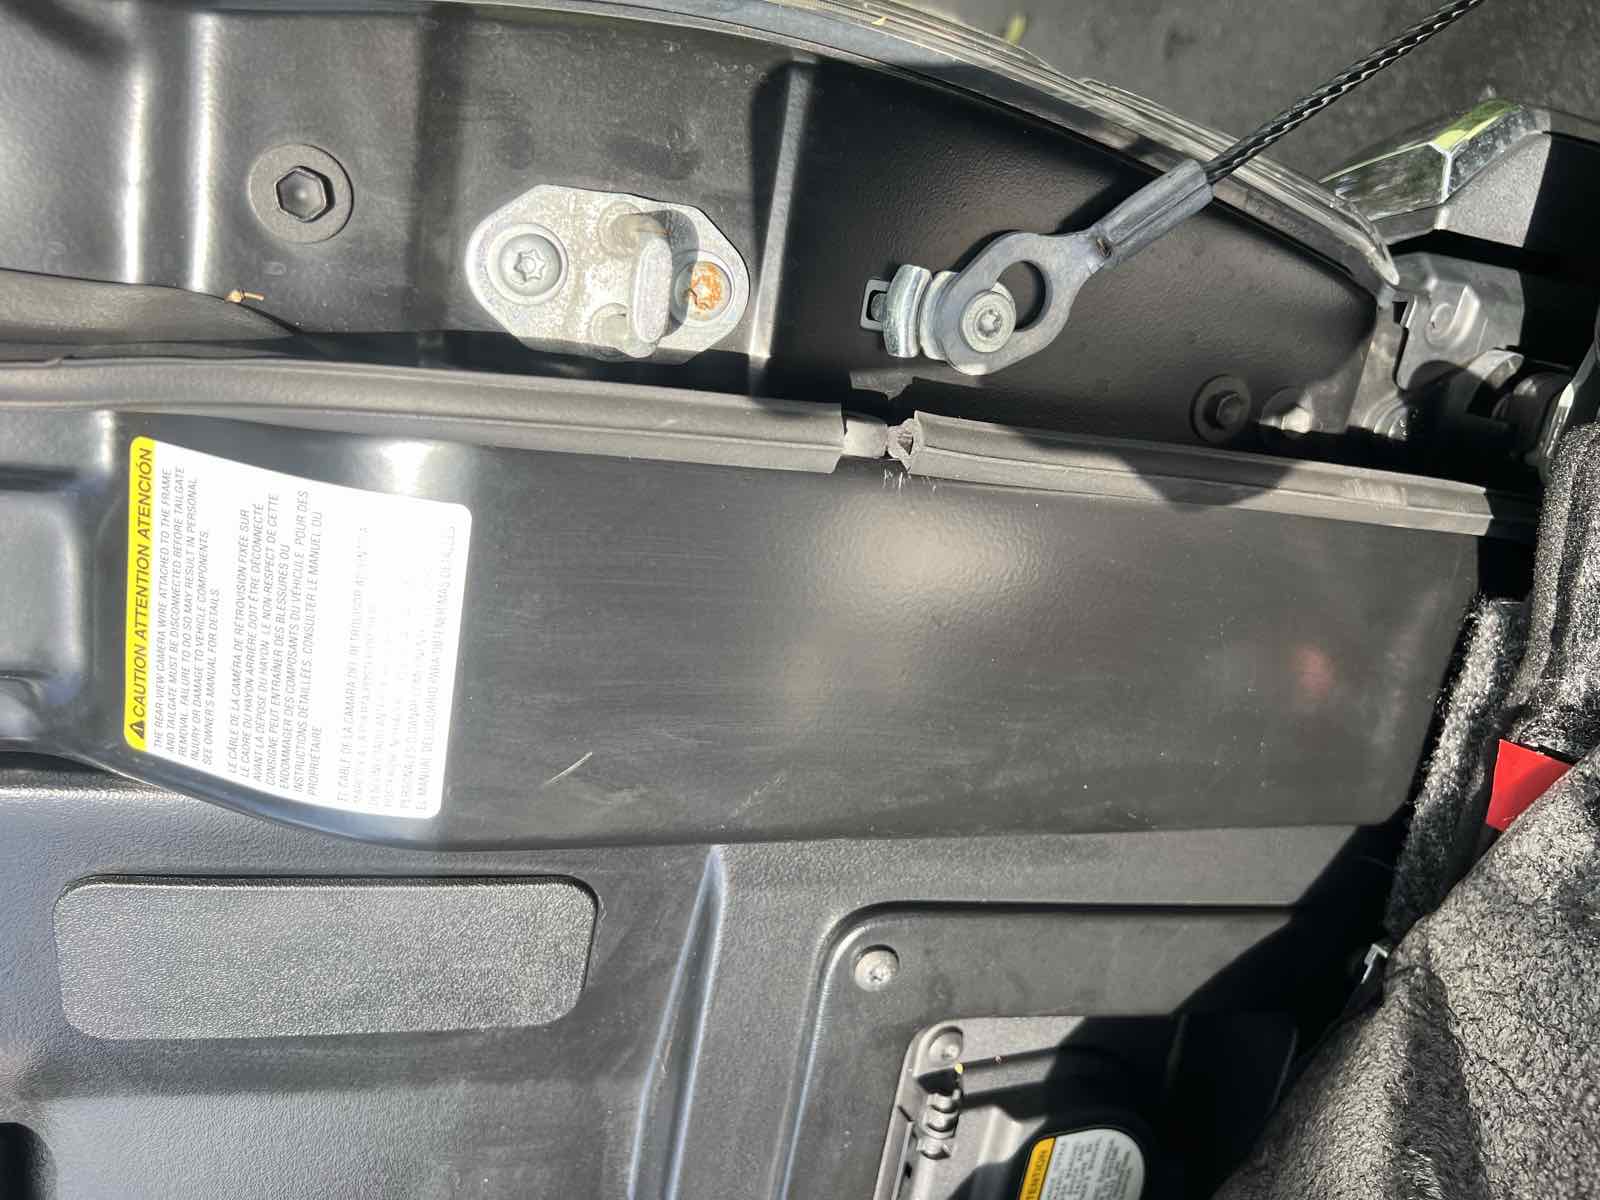
Here’s the annoying part. Total Chaos specifies 10 ft-lbs for that bolt. Every other fastener in the job is 18, 50, or 60. It’s a small fastener with a low number sitting in the middle of a job full of much higher ones, and I put a wrench on it like it was one of the others.
| Fastener | Torque |
|---|---|
| T-55 bed bolt | 60 ft-lbs |
| 7/16" bolt | 50 ft-lbs |
| 5/16" bolts | 18 ft-lbs |
| Stock 6mm bed bolt | 10 ft-lbs |
And the instructions warn about this exact bolt, in these words:
“If there is a gap between the bed stiffener and the bed it means your bed is slightly bent. In this situation, DO NOT tighten this bolt all the way because it may break.”
I had a gap. Not from a bent bed, but because I’d mounted the bracket on top of my bed liner, which is the next section. Same effect: the bracket wasn’t sitting flush, and the bolt broke.
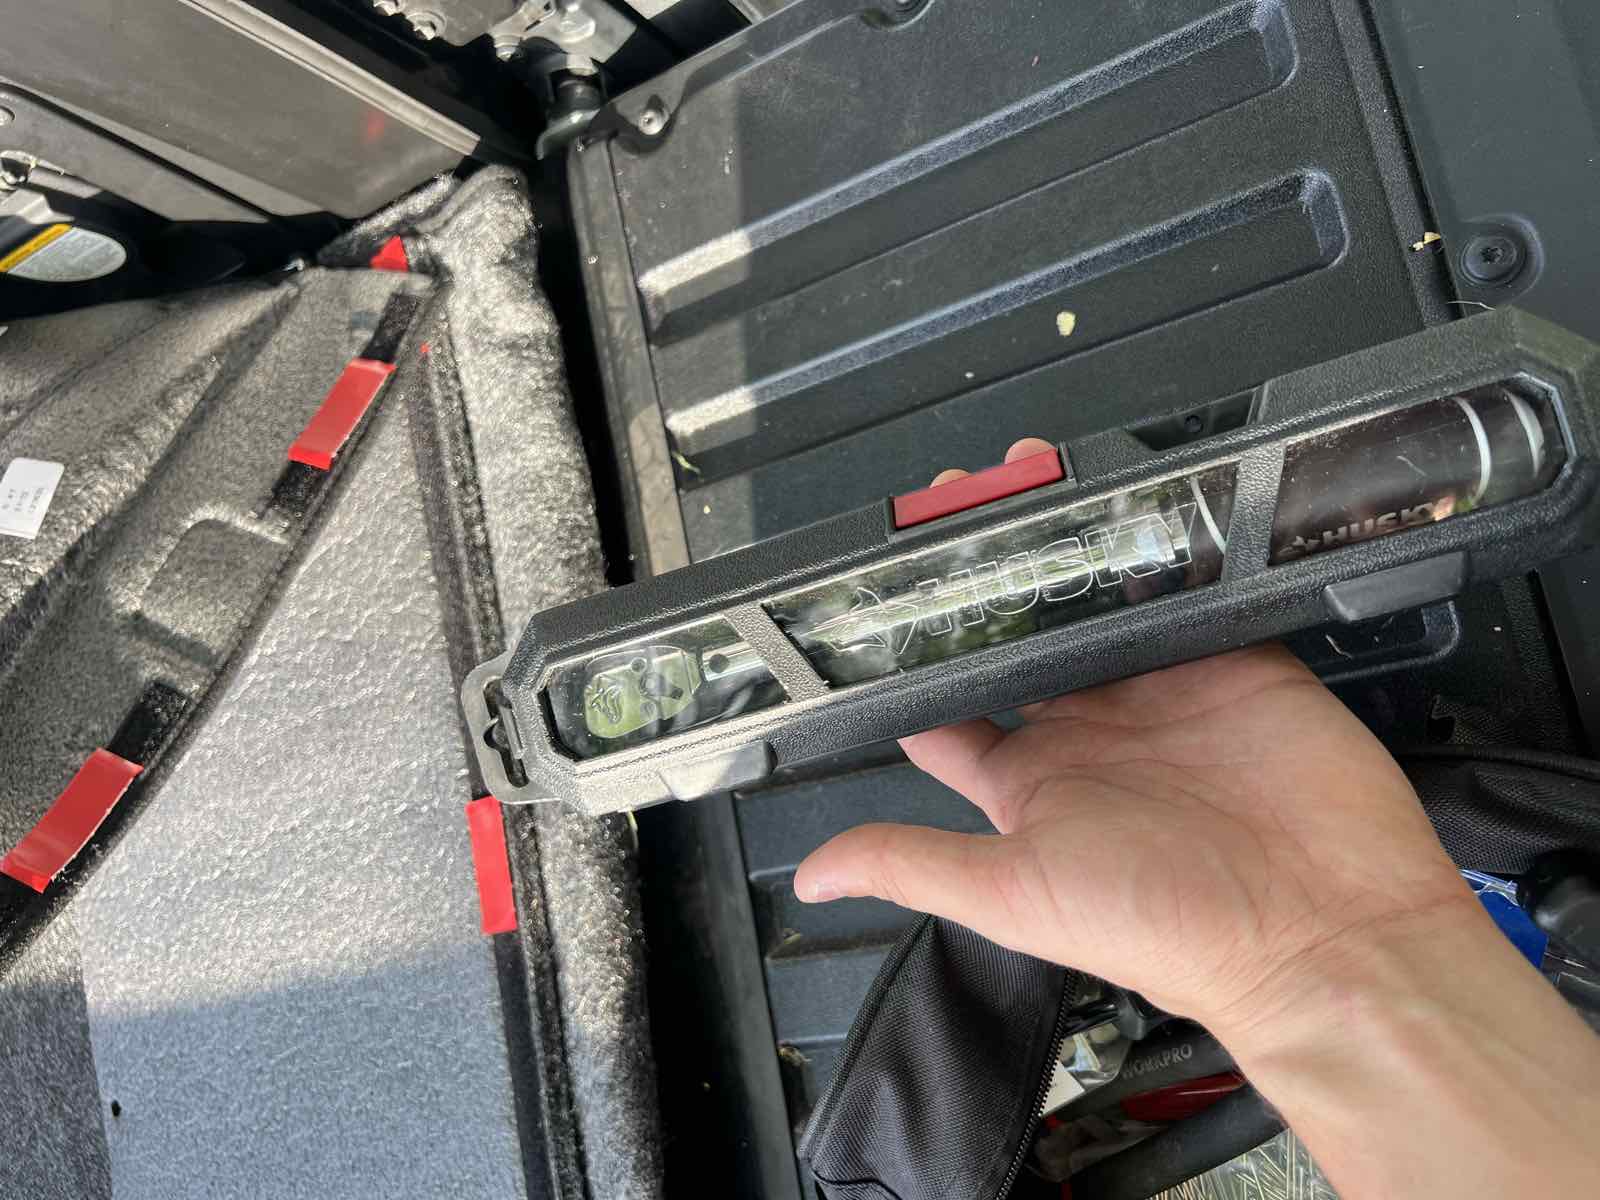
Two separate manufacturers warn about this same bolt. Leitner’s stiffener instructions say to tighten it last and note it can strip if the bracket sits too far from the bed. When two companies independently flag one fastener, that’s the one to slow down on.
Do this instead: start every bolt by hand, three to five threads, before tightening anything. Then work bottom to top and leave the stock bed bolt for last. Total Chaos says this explicitly and I read it afterwards.
The bed liner problem nobody writes about
My Husky liner was already in when I did this, and the two mods fight each other in a way I haven’t seen documented.
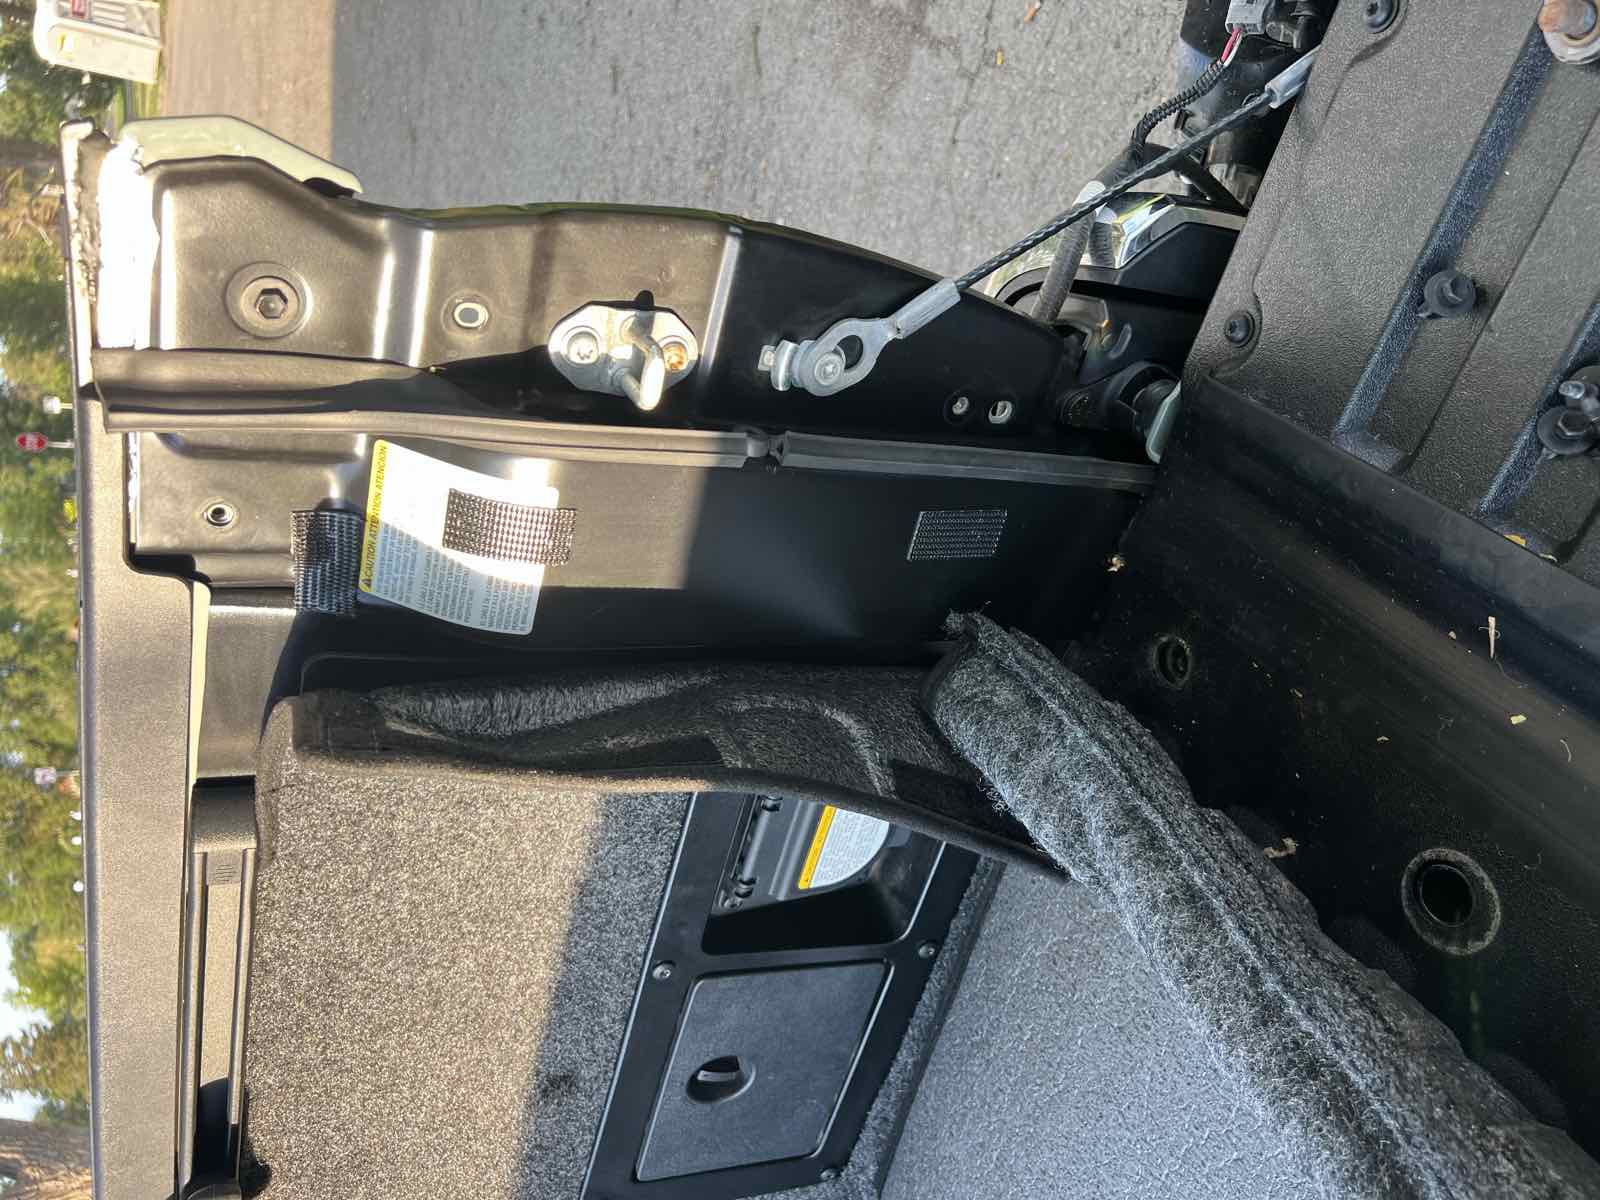
At the tailgate end I ran the bottom of the L-bracket under the liner, cutting a small slit so the metal could pass through. That worked cleanly.
On the sidewalls I went the other way and mounted the bracket over the liner. The bracket lands right at the liner’s edge, and I didn’t trust the velcro to hold if I cut into it there. It feels solid and I’d call it stable.
But that sandwich is thick, and it’s what caused the rest of my trouble. Lining the bracket up was harder, I had to press hard to get threads to start, and that gap is precisely the condition Total Chaos warns about. Knowing what I know now, I’d find a way to get the bracket against bare metal on the sidewalls too. The liner itself, and why it was already in when I got here, is on the bed liner page.
One honest deviation: I didn’t rust-treat the drilled holes. The common advice is to prime or paint them, and I skipped it. They sit inside the taillight cavity and I’m in Colorado, where things stay dry. If you’re somewhere with real winters or salted roads, treat the holes. I made a climate-specific call, not a universal one.
Was it worth it?
I can’t tell any difference, and I don’t expect to. That’s what preventative maintenance feels like. The bed didn’t crack before and it hasn’t cracked since, and I have no way to know which of those facts the brackets are responsible for.
What I’m actually buying is the removal of a future problem I’d have had to pull the camper off to fix. On that basis I’d do it again, and I’d still pick the low-profile set. I’d just buy the right Torx bits first and put a torque wrench on the one bolt that needed it.
My take
If you’re running a permanent camper on a 3rd-gen Tacoma and the bed is bare right now, fit them. Not because your bed is going to crack, but because this is a cheap job today and an expensive one once the camper is on. Pick the low-profile set if you’re building an interior, save the money and take All-Pro’s anchors if you’re not. Then buy a T-40 and a T-55, start everything by hand, and treat that 10 ft-lb bolt with the respect I didn’t. The rest of my bed prep is in sealing the bed rails and sealing the tailgate gap, and the payload calculator will tell you what all of it costs you in weight.