Do you actually need a bed liner?
First, scope: this is about rail-mounted campers like the Tune M1, the kind that clamp to your bed rails rather than sitting down on the bed floor. That distinction matters, because a rail-mounted camper never touches the floor, so the liner’s thickness costs you nothing in fit or headroom. If yours is a slide-in that rests on the bed floor, the thickness is a real variable and you’d want to check it against your own camper.
For a rail-mounted pop-up, a full carpet-style liner is closer to standard equipment than to a luxury. Four Wheel Campers fits one to the Project M. GFC owners run them and recommend them. And on the M1 specifically it’s the surface Tune’s interior kits are designed around, so a rubber mat or a spray-in isn’t a like-for-like substitute if you ever want one of their kits to fit.
The other half of the case is simpler. Once a camper is on, the bed floor stops being a place you throw things and starts being a floor you kneel, sit and sleep on. Two months in, that’s the part I actually notice.
The $380 question
Tune will sell you a BedRug Classic, custom fitted and installed on camper day, for about $750. It has to be on the purchase order before production starts.
I paid $339.99 direct with free shipping, $371.38 after tax, for the same liner.
Same liner because of a rebrand. RealTruck owns both BedRug and Husky Liners, and around March 2026 they moved the BedRug Classic into Husky’s Guardian Comfort line with an updated top layer. Different name, different part number, same molded polypropylene liner. Mine is the Guardian Comfort HBRY19SBK for a 6'2" Access Cab bed.
So the gap is roughly $380 for about an hour of work in a driveway. That’s the best hourly rate on this entire build. It also lets you seal the bed properly first, which you can’t do if the liner arrives already fitted on camper day.
Get the right part number. Most listings default to the 5-foot double-cab liner. I needed the 6-foot version, and the fit is exact enough that the wrong one would be obvious and useless. Check your bed length against the part before ordering, not after.
It currently lists at $399.99, so my $339.99 was a real price too, not just a good story. More on how I time these buys in when to buy your gear.
Fitting it: one hour, no drilling, no trimming
Do one thing the night before: unfold it and let it lie flat. It ships folded and it holds the creases. Mine spent an evening spread across the living room floor with a power station and a toolbox parked on it.
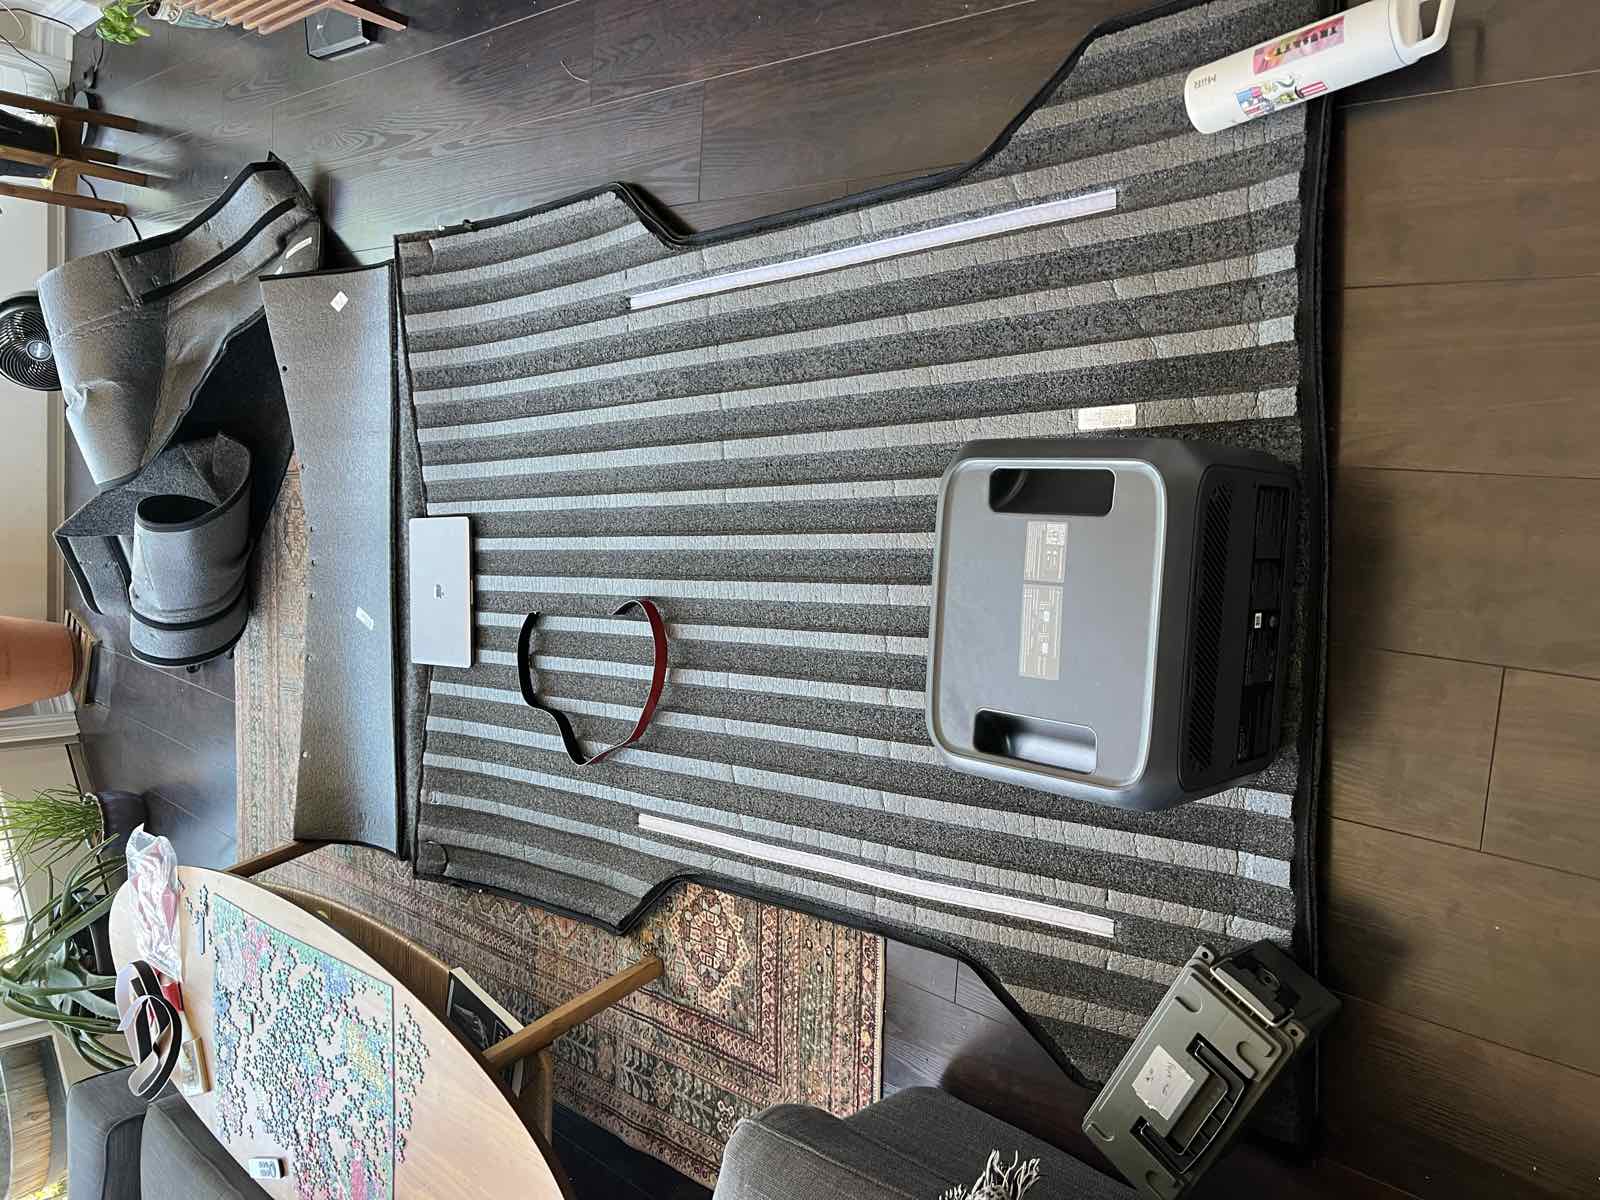
The attachment is the part I’d never seen explained. It’s velcro. Strips are sewn into the liner, and matching adhesive strips go onto the truck. Clean the bed with isopropyl, peel the red backing, press the velcro to the bed, then press the liner onto it.

The velcro is strong. That surprised me, and it’s why the liner doesn’t move.
Don’t follow the instructions in the box. Watch this instead. The material that shipped with mine was leading me into doing it wrong, and I was partway in before I noticed it didn’t match what was in front of me. I couldn’t find a single Husky-branded install video for a Tacoma. What finally worked was going back to the pre-rebrand product and watching RealTruck’s own walkthrough: How to Install BedRug Full Bed Liner on a 2016 Toyota Tacoma. Same liner, right truck, accurate to what I was actually doing. Twelve minutes that would have saved me the confusion.
The hardest part is deciding where the velcro goes. Not sticking it, deciding. Once the adhesive is down you’ve committed, and getting the whole liner square in the bed before that is the actual skill in this job. Take your time lining it up.
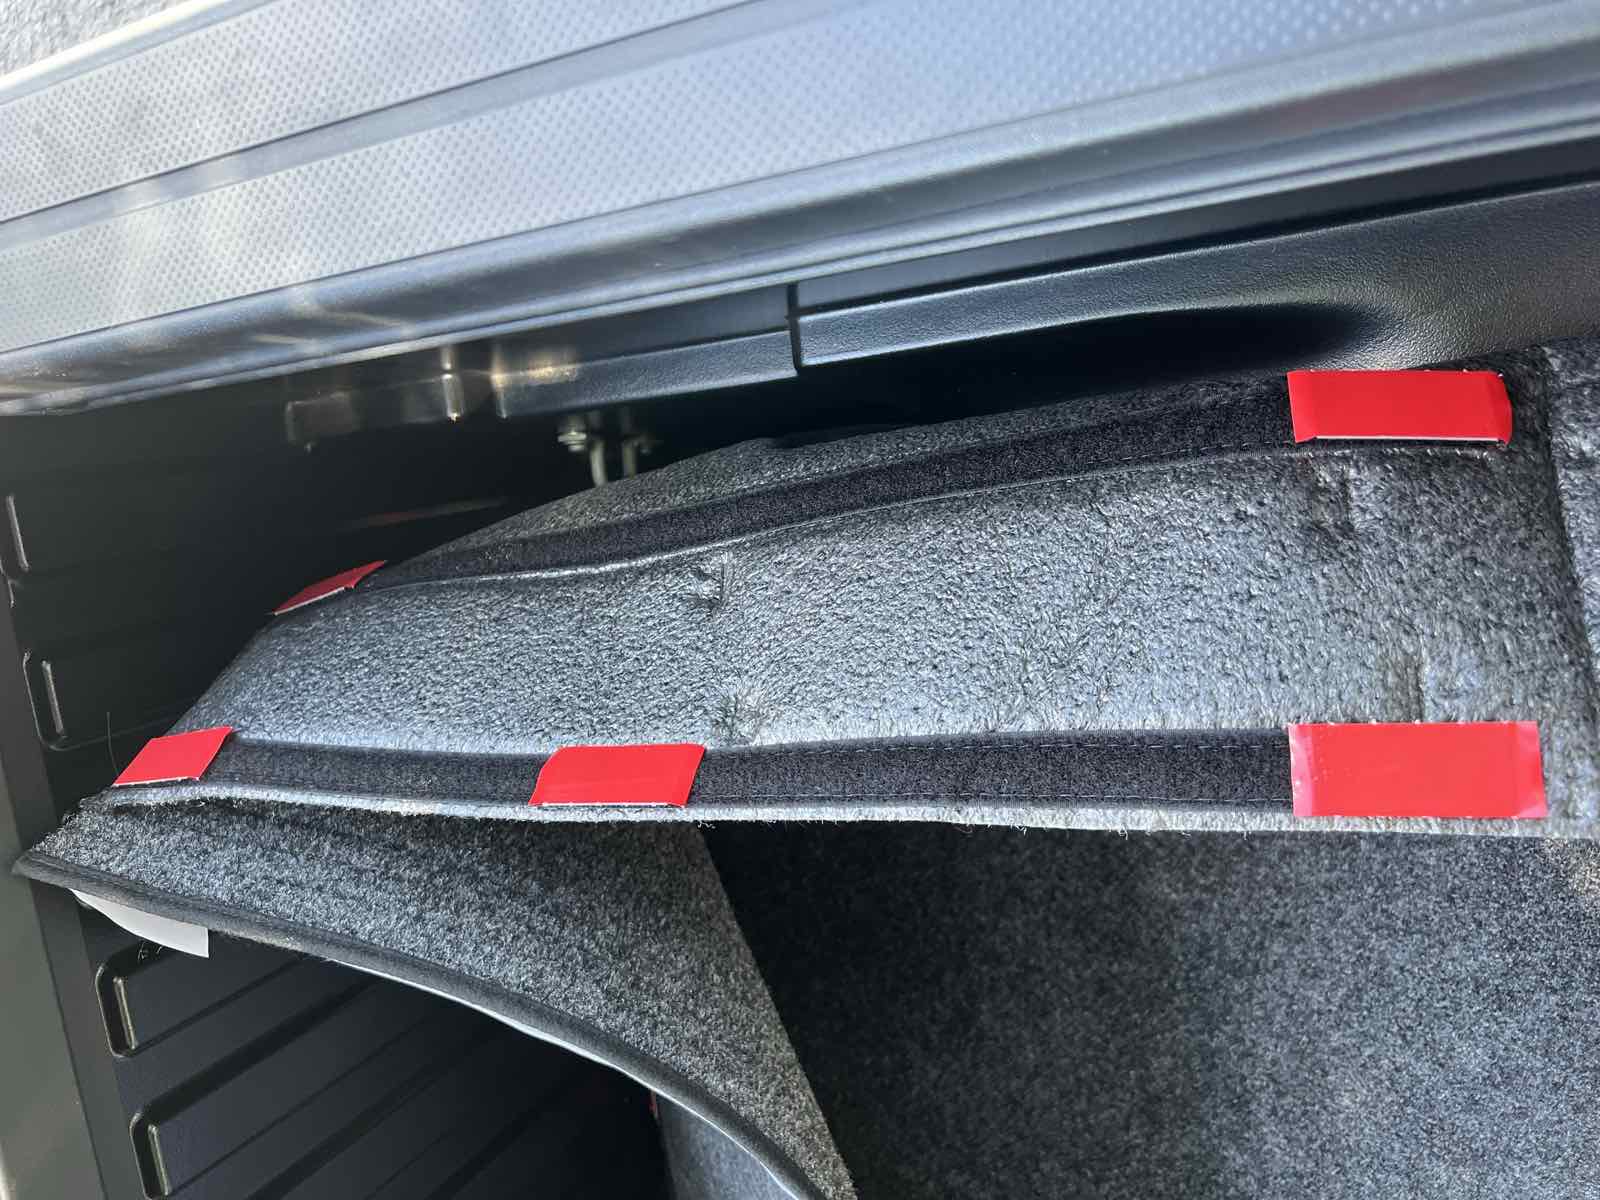
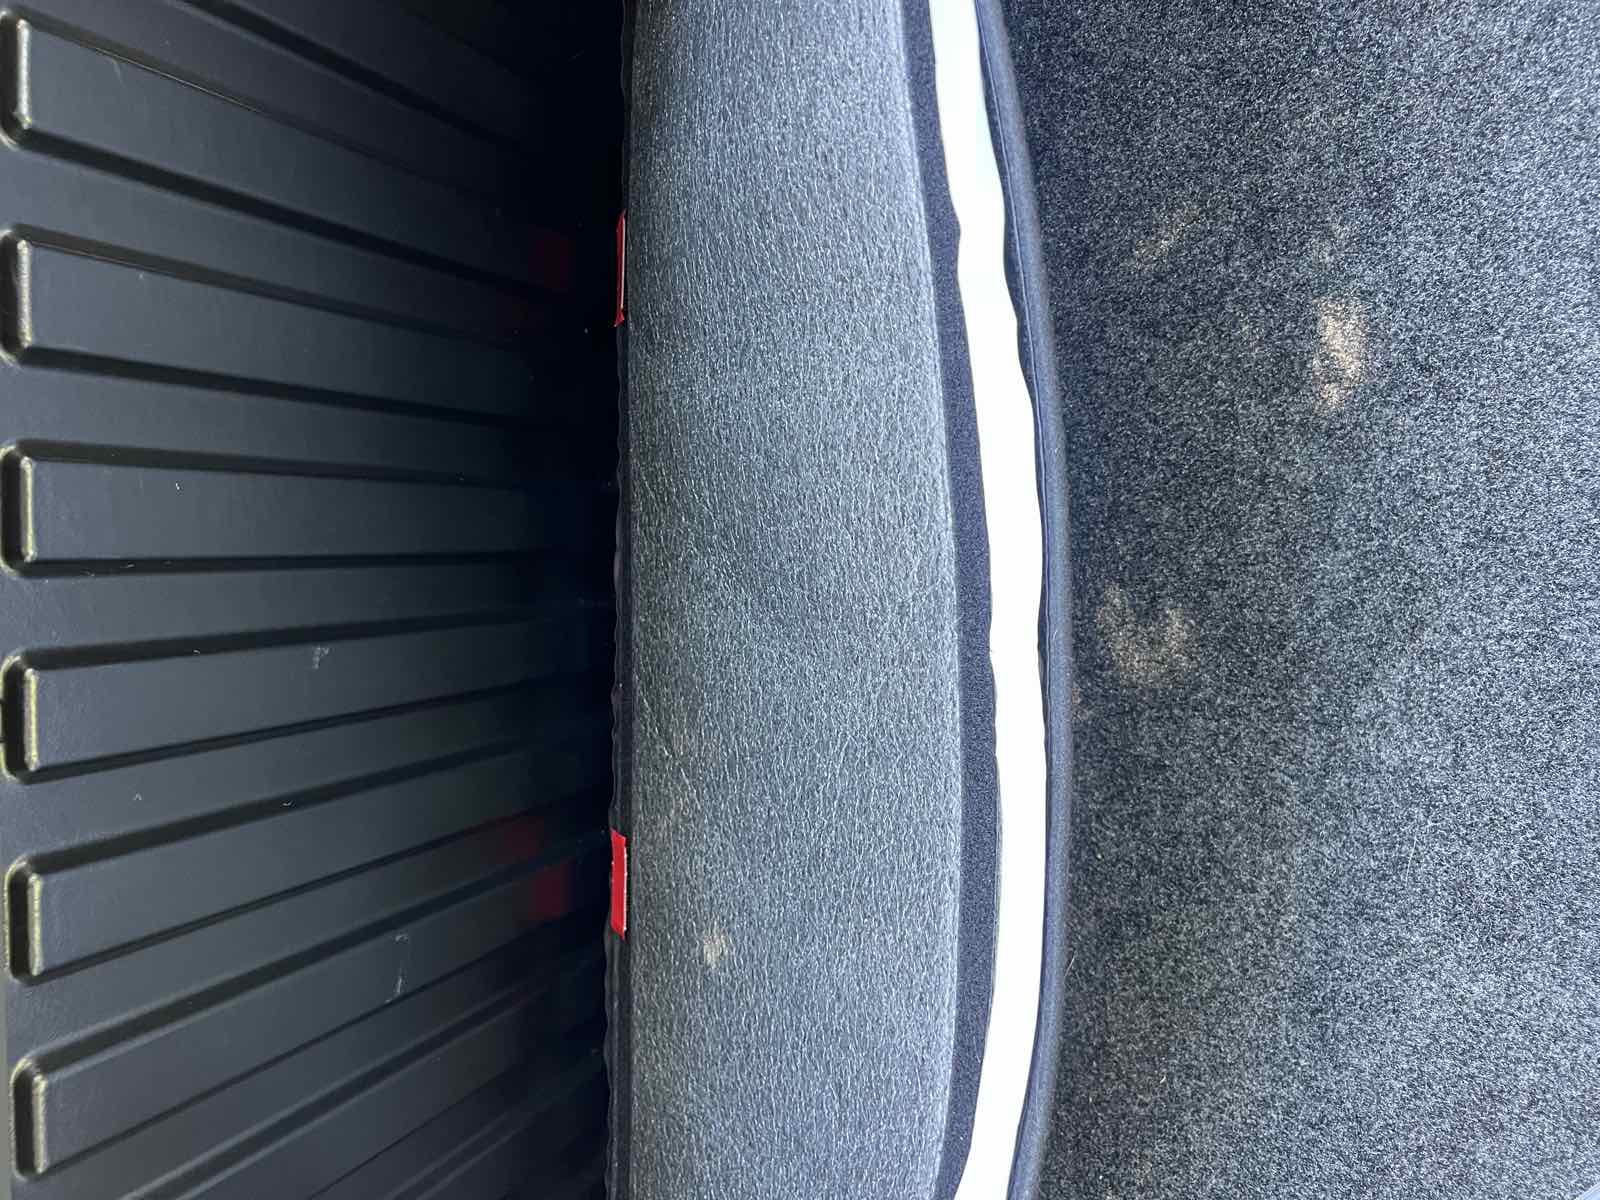
No trimming, and no drilling. The fit is excellent, which is what you’re paying a custom-moulded part for.
One correction to something I’d read everywhere before doing this: it does not tuck under the bed rails. It runs right up to the edge of them. That sounds like a detail and it isn’t, because it’s the reason the next section is true.
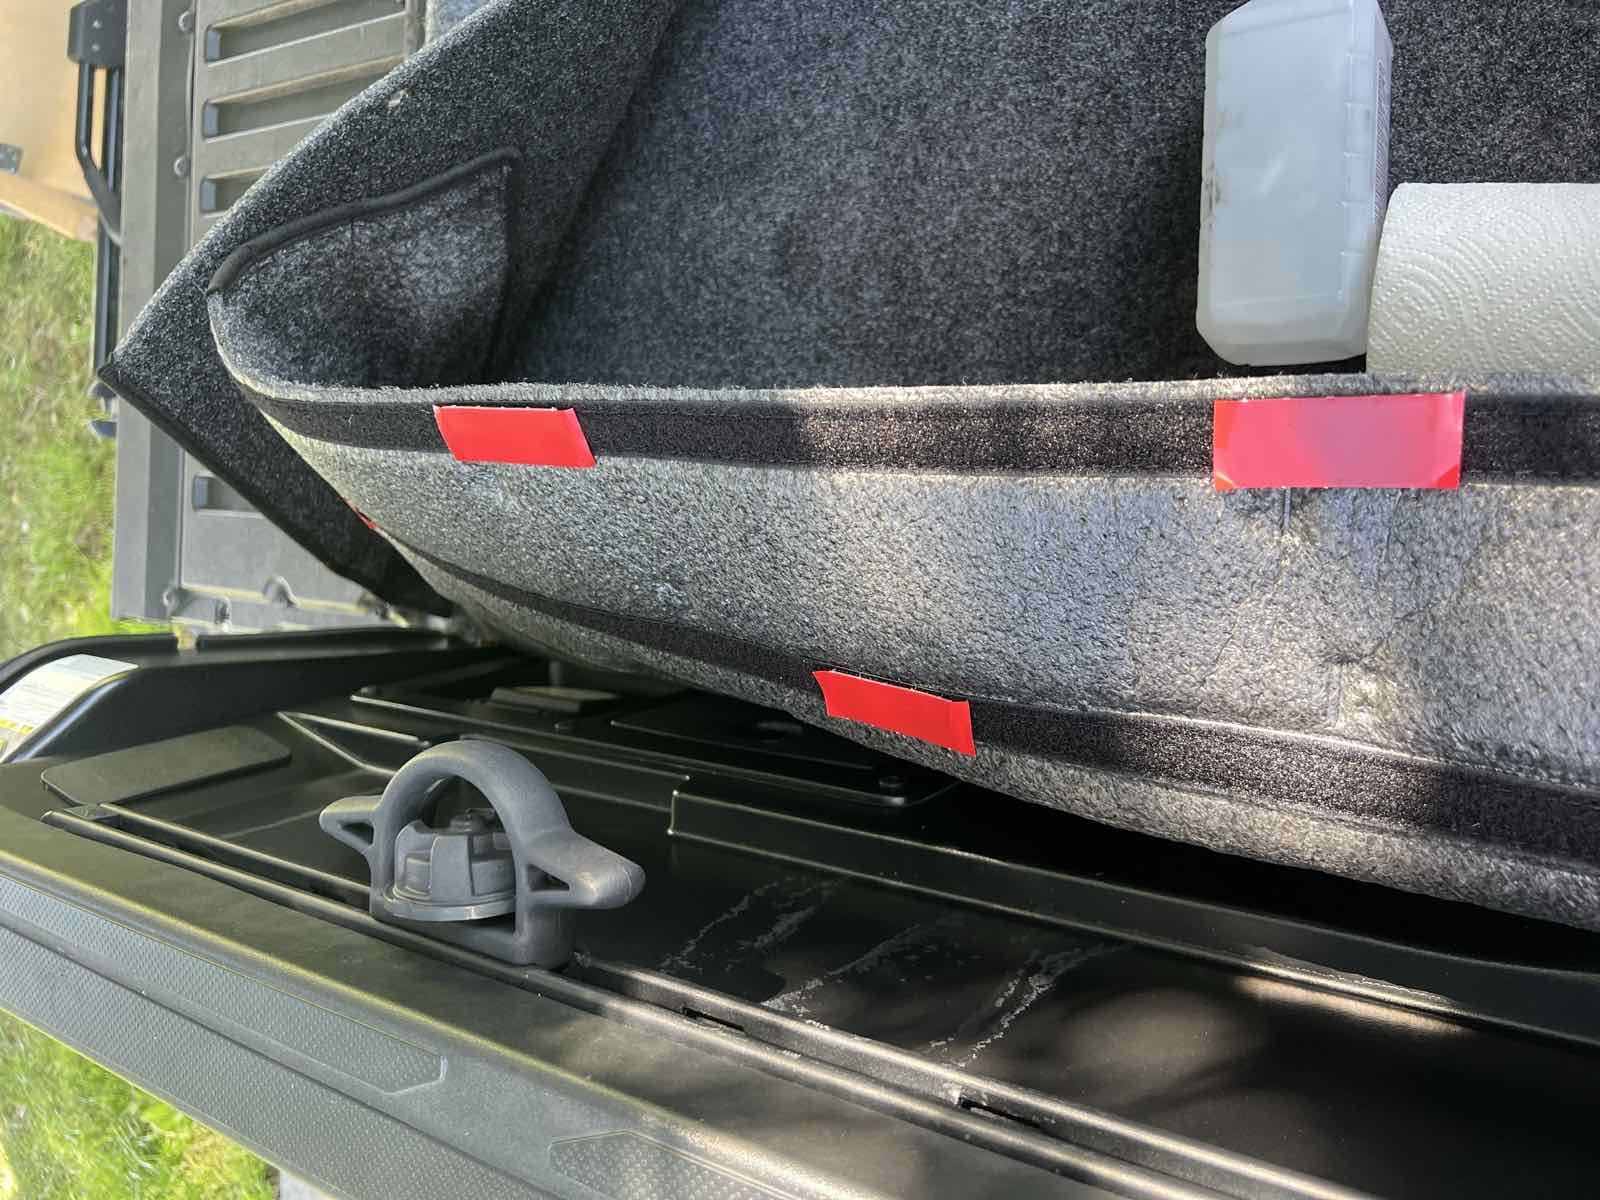
This is not a one-way door. Because the liner stops at the rails, the camper’s clamps don’t trap it, and you can fit it after the camper is already mounted. Sealing the bed rails is the job that truly has to happen first, because those rails vanish under the camper forever. If you’re reading this with a camper already on the truck, you haven’t missed this one.
The number nobody publishes
This site is built around payload arithmetic, so I went looking for what this thing weighs. Husky doesn’t publish a weight. Neither does RealTruck, who own the brand, nor two retailers I checked.
I’m not going to invent one. But a moulded liner covering the floor, both walls, the bulkhead and the tailgate, with a ¾-inch foam-backed floor, is not a trivial number on a truck where you’re counting pounds. If you’re running close to your payload ceiling, weigh it before it goes in, because once it’s velcroed down you’ve lost the chance. That’s a mistake I made and can’t undo.
Two months in
Dust: it traps it and hides it. Both halves are true and worth knowing. The bed looks clean because the pile swallows everything, and a vacuum brings it back out. I’ve done that once. If you want a surface you can hose down and see the result, this isn’t it.
Water: better than I expected. Two hours of highway rain got a patch of it wet, and it dried out completely with no smell afterwards. It’s polypropylene rather than actual carpet, which is the whole reason mould isn’t the worry it sounds like.
The beer test. I spilled a whole beer on it. Vinegar and dish soap took it out and it has never smelled since. That’s the honest answer to the objection everyone raises about putting carpet in a truck bed.
Comfort and grip. It’s good to sit, stand and kneel on, which is most of what you do in a camper bed. It stays completely put when I’m loading, and gear slides across it more easily than I expected rather than snagging.
Insulation and sound: no verdict. It should help on both, and the foam is why I skipped a separate sound-deadening layer. But I never drove this truck with a bare bed and a camper on it, so I have no baseline and I’m not going to claim a difference I can’t measure.
Where it collides with everything else
This is the part I’d have wanted before starting, because the liner doesn’t sit politely in its own lane.
- It broke a bolt on my bed stiffeners. I mounted the stiffener brackets on top of the liner on the sidewalls, which left a gap between bracket and bed, which is exactly the condition the manufacturer warns will snap the stock bed bolt. It did. Full story on the stiffener page. If you want the brackets against bare metal, fit them before the liner.
- It fights the tailgate seal a little. Between the liner’s tailgate section and the ROK Block gap cover there’s extra material with nowhere to go, so the tailgate is occasionally stiff to close and I re-shut it. It’s been improving as things settle.
- It adds sealing of its own on top of the tailgate work, which is a quiet bonus nobody advertises.
- It sets the height everything else references. Tune’s interior kits index off this surface, which is why substituting a different liner is a bigger decision than it looks.
One thing I left unresolved. Tune’s documentation still refers to the BedRug Classic, and I never got written confirmation that the rebranded Guardian Comfort is what their interior kits expect. It is the same liner as far as I can tell. But my return window closed on August 3rd, so I can no longer test that cheaply. If you’re inside yours, ask them first.
My take
Buy it direct and fit it yourself. It’s an hour of easy work for about $380, it’s the one bed-prep job you can still do after the camper is on, and it’s the surface you’ll spend every night on top of. Get the right bed length, unfold it the night before, take your time squaring it up before any adhesive touches anything, and decide up front whether your stiffener brackets are going over it or under it. The rest of the bed prep is in sealing the rails, sealing the tailgate, and the stiffeners, and the payload calculator is where to total up what it all costs you in weight.